Overview
This article is for district-level account managers who want to use custom fields to track information specific to their school or district that is not already included in Overgrad. Once created, custom fields appear on student profiles and can be updated individually or in bulk. Only district-level account managers can create and edit custom fields.
Custom Field Categories
Creating a Category
Categories let you organize your custom fields into groups, which controls how they appear on student profiles and in application menus. You can create multiple categories, rename them, reorder them, and assign fields to them.
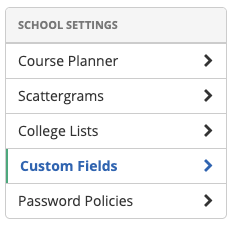
Click on your name in the top right > My Account. Then select Custom Fields under School Settings.
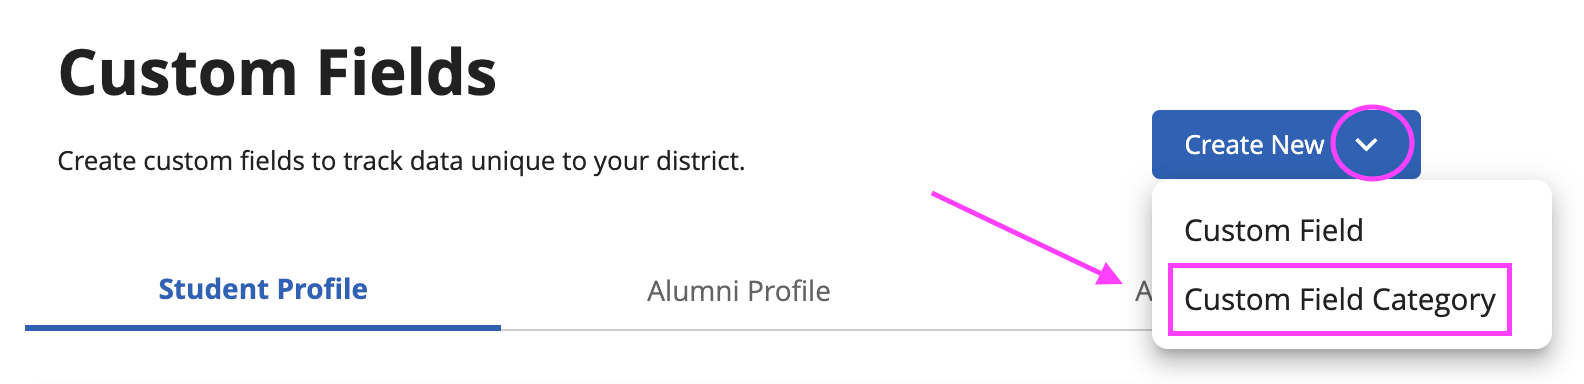
Click + Create New and select Custom Field Category.
Enter a name for the Custom Field Category and assign whether you'd like it to appear on Student Profiles, Alumni Profiles, or Applications. Then click Save.
Editing and Removing Categories
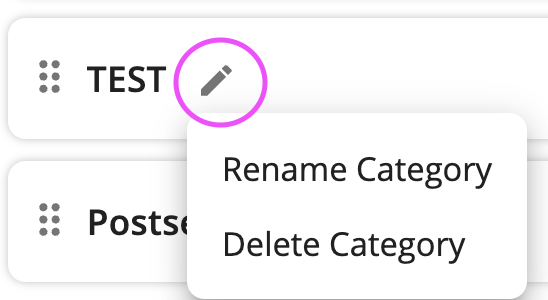
To rename a or delete a category, hover over its name and click the pencil icon. Before you can delete a category, you must reassign any custom fields in that category to a different category.
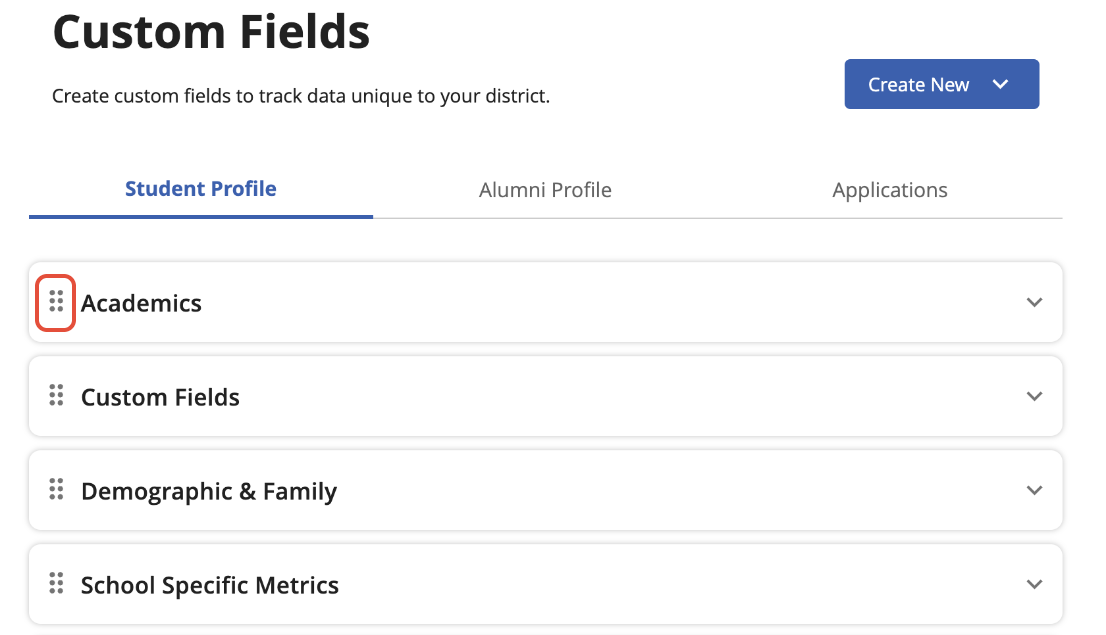
To reorder categories within a group, drag them using the six-dot icon
.
Custom Fields
Creating a Custom Field
1. Go to My Account > Custom Fields. Click + Create New.
2. Choose a category
Select which category the field belongs to. This controls where it appears on student profiles. Click Next.
3. Choose a field type
Select the type based on what you want to track:
- Single Select Dropdown — choose one option from a list
- Multiselect Dropdown — choose multiple options
- Number — a numerical value
- Date — a date value
- Text Field — freeform text
Click Next.
4. Add field details
Enter a label and description. In the Permissions section, set whether students can view or edit the field from their profile.
Then complete the format for your field type:
- Dropdown: Enter your options. Click + Add Another to add more than two.
- Number: Select the numerical value type.
- Date or text: No additional formatting needed.
- Click Create to save. The field will now appear in your Custom Fields settings and on student profiles.
Updating Custom Field Data
Student custom fields can be updated the same way you'd update any other student information — from an individual student's profile or in bulk via CSV. See Editing/Updating an Individual Student Account and Bulk Editing/Updating Student Account Information for instructions.
Application custom fields are edited through the Applications tab of a student's profile. Open any application to the Application Details page to view and edit the custom fields associated with it. Application custom fields are also available in custom reports — you can use them as filters on the Students, Applications, and Admission Documents tabs, and add them as columns on the Applications tab.
Was this article helpful?
That’s Great!
Thank you for your feedback
Sorry! We couldn't be helpful
Thank you for your feedback
Feedback sent
We appreciate your effort and will try to fix the article